🛂 Log In / Log Out
Log In
OpenUEM comes with a web user interface named OpenUEM Console.
The console can work behind a reverse proxy or be served right away from the Console component on port 1323 by default.
The log in page looks like this:

If you see a security warning your browser may not trust in the Certification Authority. Please visit the guide to import certificates
To log in to the console, you can use the following authentication methods:
- Username and password (enabled by default in version 0.11.0)
- Digital certificates (enabled by default)
- Open ID Connect (must be enabled)
Any of the previous methods can be enabled or disabled from the Authentication section.
You must configure an SMTP provider if you want that OpenUEM can send emails with links to reset passwords, active accounts...
To avoid an administrator lockout, if your OpenID service is not recoverable, you can reenable the use of username/passwords or digital certificates to log into the console by using the following entries to the Console section of the openuem.ini configuration file and restart the console service:
reenablecertauth = true
reenablepasswdauth = true
If you use Docker, you can use the analogous environment variables:
- RE_ENABLE_CERTIFICATES_AUTH
- RE_ENABLE_PASSWD_AUTH
Username and password
From version 0.11.0 onwards you can use a username and a password to authenticate.
OpenUEM will create automatically the openuem user and generate a temporary password that will show in the console logs (try to look for the initial password text in the log).
If you cannot find the password or have forgotten it, you can regenerate the password using one of the following methods:
- Add
resetopenuemuser=trueto the Console section in the openuem.ini configuration file and restart the console service. Get the password from the console logs. Once you log in, don’t forget to remove the entry from the configuration file to avoid a loop that resets the password every time the console is restarted. - If you use Docker, use the RESET_OPENUEM_USER=true environment variable and restart the console service. Don’t forget to set the false value later to avoid a loop.
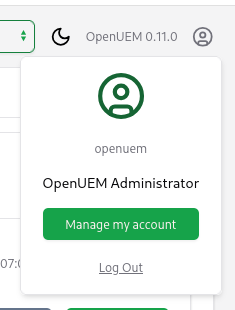
Once you log in, you can change your account settings by clicking on the user icon located at the top right and selecting Manage my account.
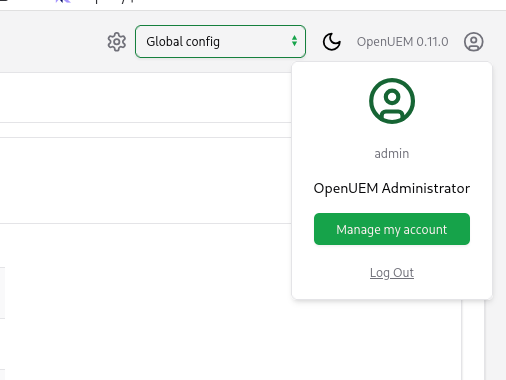
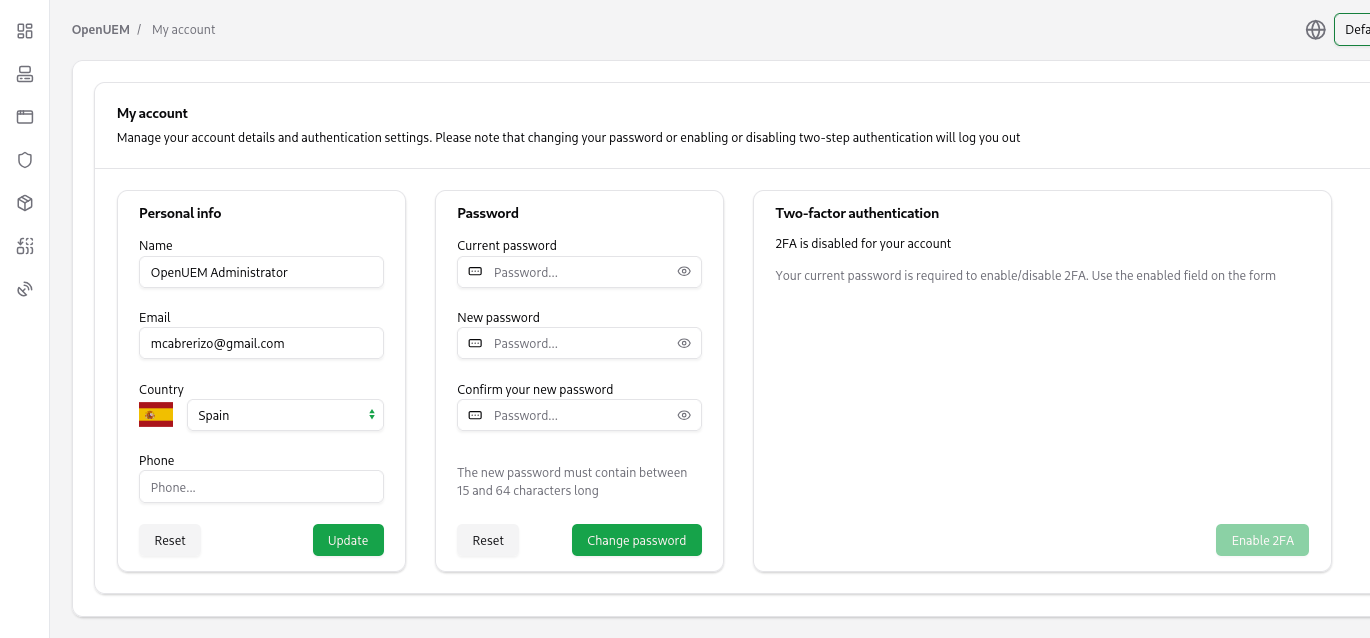
You can do the following actions from your account management:
- Change your personal data
- Change the password
- Enable or disable a second factor of authentication
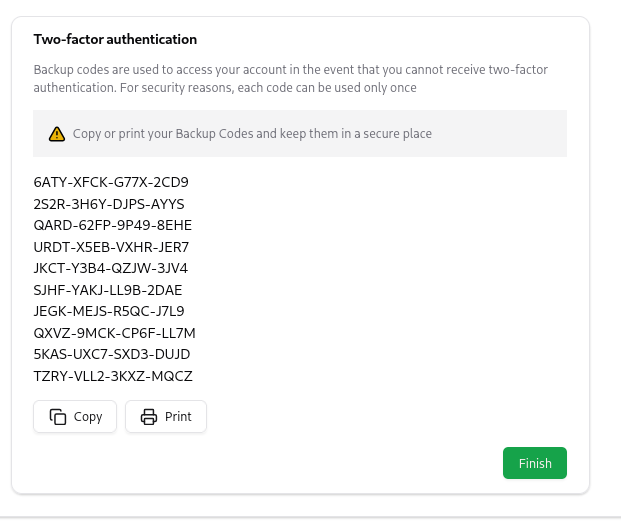
The second factor of authentication is provided by an authenticator application like Microsoft Authenticator or Google Authenticator that can use time-based one-time passwords.
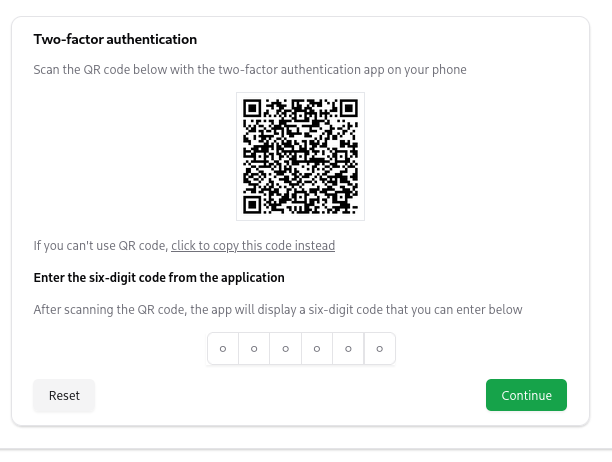
Once you verify your authentication application, don’t forget to copy or print your recovery codes.
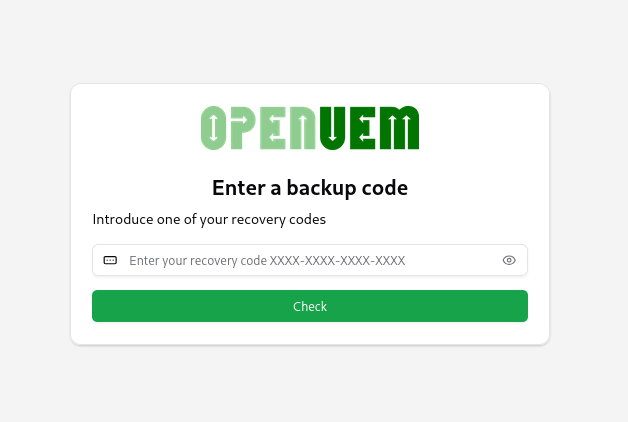
If the second factor is enabled, you’ll need to use the code generated by your authentication app.
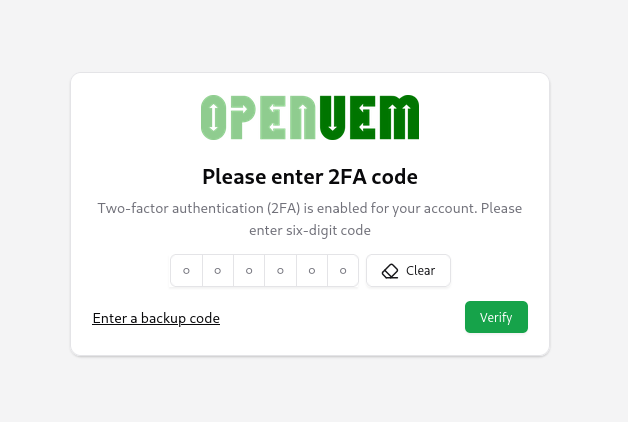
Or use a recovery code to log in.
Digital certificates
To log in to the console with digital certificates, you'll need to have a user certificate installed in your browser. Please, visit this guide to learn more about how you can import these certificates.
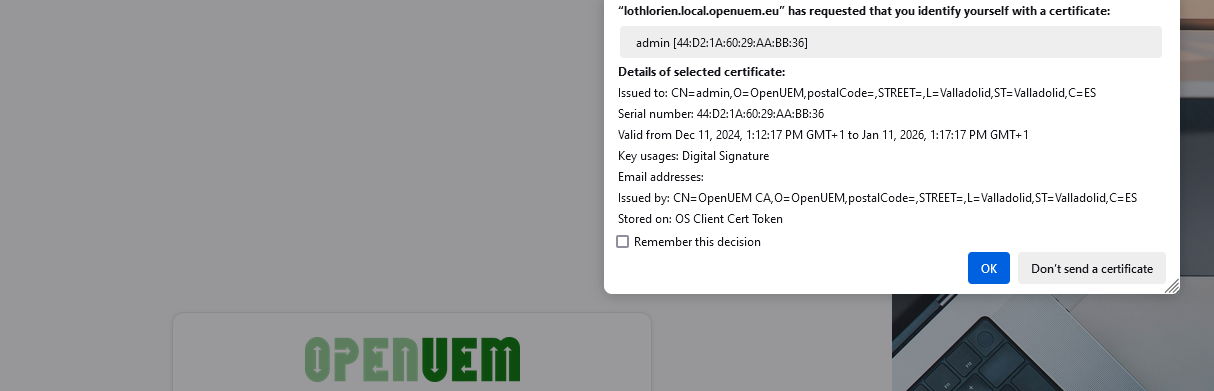
When you click the log in button you'll have to select the certificate. If no certificate is shown check if you've imported the certificate to the Personal certificates store. Please visit the guide to import certificates
In the server setup for Windows or Linux, if you've selected to auto generate the certificates in the installation, both the CA certificate and the user certificate should be imported automatically to the browser in the machine where OpenUEM has been installed.
If authentication works fine, you'll see the Dashboard which is documented in the next section.
OpenID Connect
From version 0.10.0 onwards, you can configure OpenUEM to use a supported Identity Provider thanks to OpenID Connect.
OpenUEM supports these providers:
If you want to use one of these providers with OpenUEM, you must first log into OpenUEM with the admin/openuem user and configure your provider. Once you have checked that OpenID works fine, you can choose to disable the use of username/password and/or digital certificates. Please, visit the Authentication section to learn how you can configure OpenID Connect.
Sessions
OpenUEM has sessions that last 24 hours by default, after that time you'll have to log in again.
You can set a different session lifetime visiting Admin -> General Settings

Log Out
When you want to log out, you can use the icon in the sidebar...
![]()
or you can click on your profile to show the log out